
Resizing Photos using paint.net
Paint.net comes with Windows 7 (May come with other versions of windows too), or can be downloaded for free.
I’ll show you here, step by step, how to resize product photos.
Step #1 – Open the photo. You may be able to “double click” on the photo to automatically open it in paint.net. Otherwise click the yellow icon of the folder and find the photo to work on.
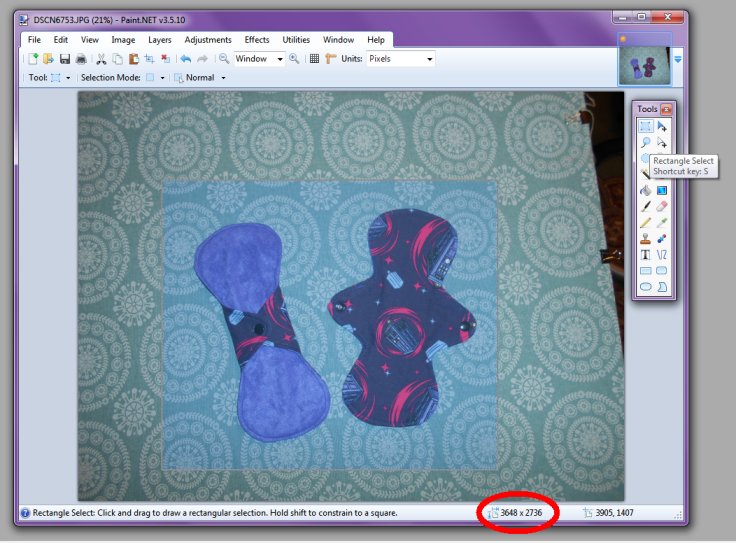
Step #2 – Cropping – Click on the “Rectangle Select” in the tools menu, then drag this from one corner to the opposite to make a selected box. Leave a little room around the edges, don’t crop it right against the pads. Try to make an even amount of empty space on all sides. Note the program gives instructions and tips on the bottom of the window. It also shows the actual image size in “pixels” (3648 x 2736)
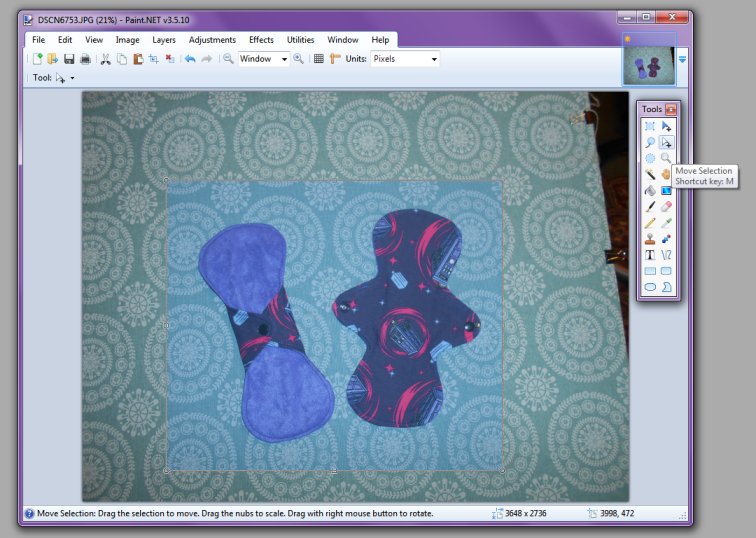
If you need to reposition the selected square, click the “Move selection” button, then drag the selected area where you need to.
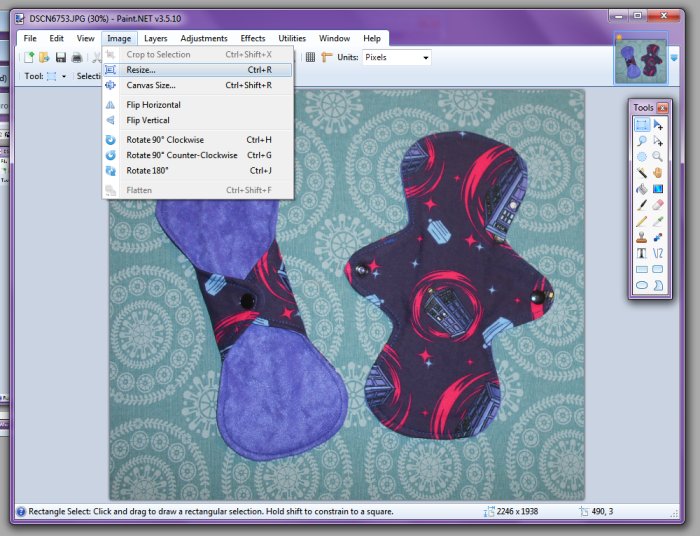
Step #3 – Go to the “Image” menu and select the option to “crop to selection”.
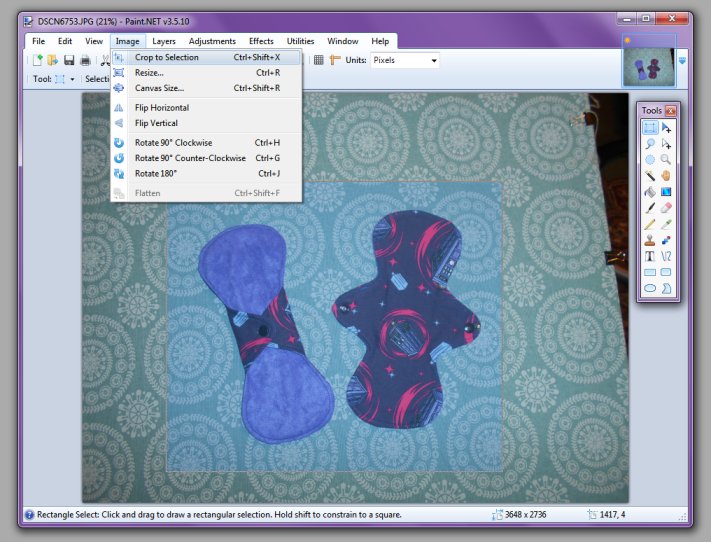
This will remove everything outside of the blue area you have selected.
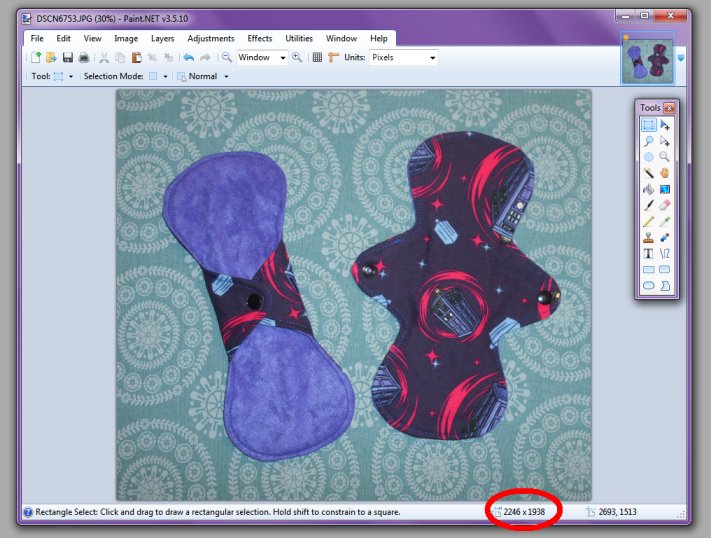
Step #4 – Resizing. You can see in the image above that the cropped image is still too large – it is 2246 x 1938 pixels. Maximum image size allowed on the site is 900 x 900 pixels. Go to the “image” menu and select “resize”
Make sure “maintain aspect ratio” is ticked and change the width to any number between 500 and 900 (I selected 700). The height should automatically change number. Recommended size is around 800 x 800 pixels. So long as both are over 500 and under 900, then your image is a good size. Click OK.

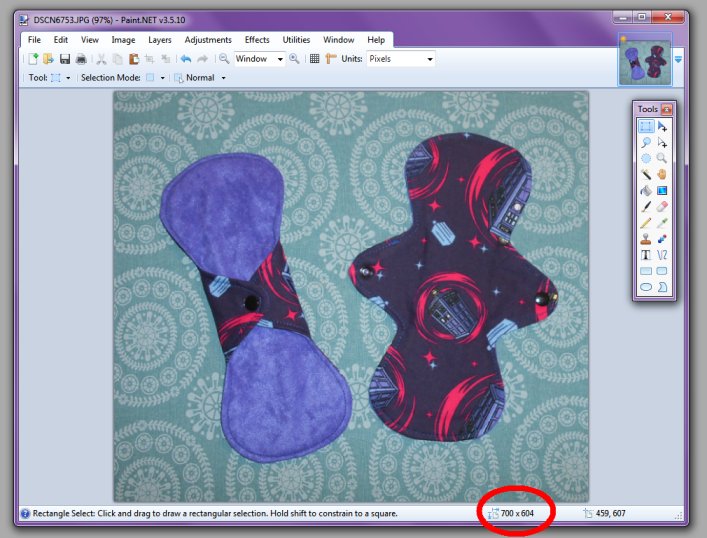
You’ll see the image size is now 700 x 604 pixels.
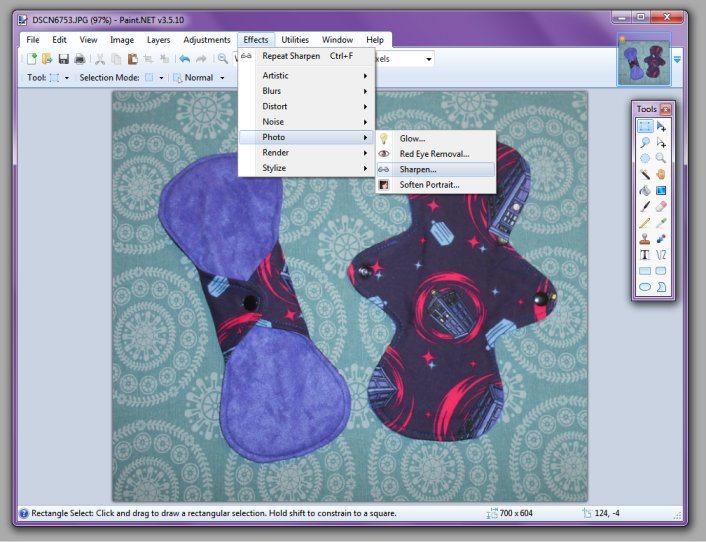
Step #5 – Sharpening (optional) – Sometimes when you resize a photo it can look slightly blurry. You can fix that by “sharpening” the photo. Go to the “effects” menu and select “Photo” then “Sharpen”.
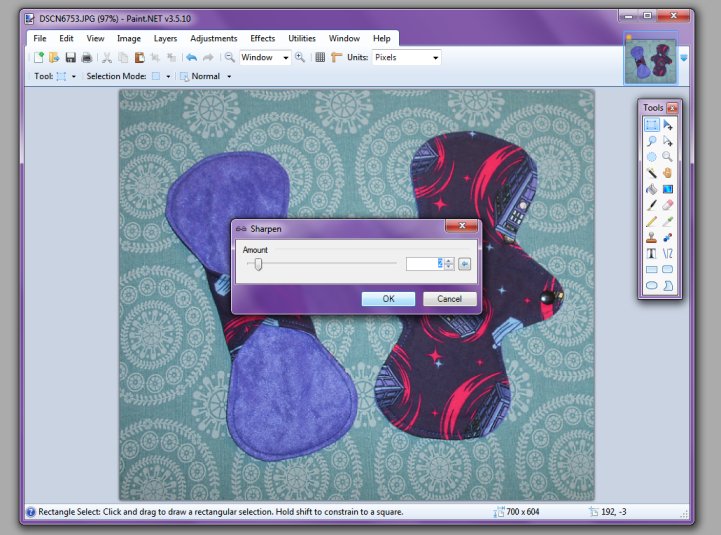
Then use the slider to select how much to sharpen by. Just do a small amount! I found 2 was enough
Final Step – Save your image! You can just click “Save” and overwrite the original, but if you’d like to keep a backup of your unedited image, then select to “Save As” where you can give your image a unique name and save it into a different folder if you wish.

Optional Step – Watermarking. If you’d like to add your business name to the photo for more promotion, click the text tool.
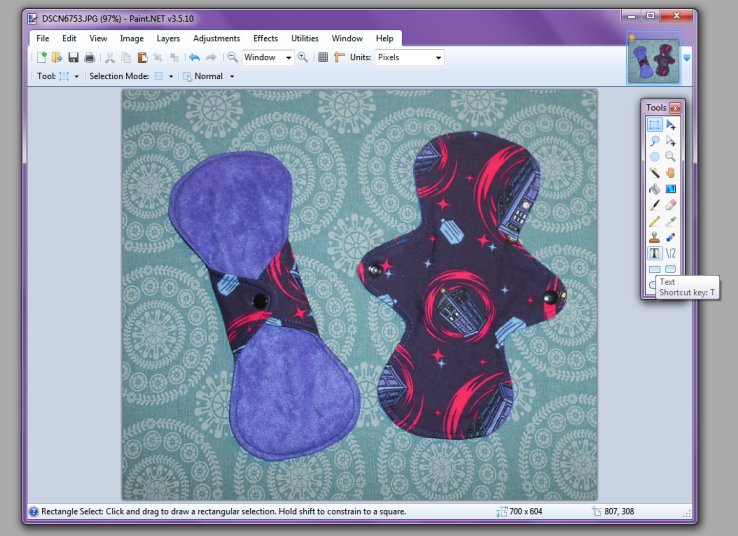
Click on the image where you want to place the text (you can move it around later)
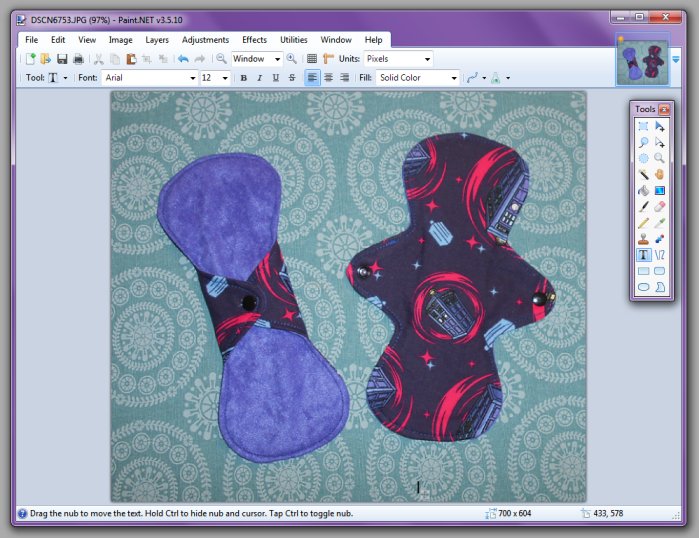
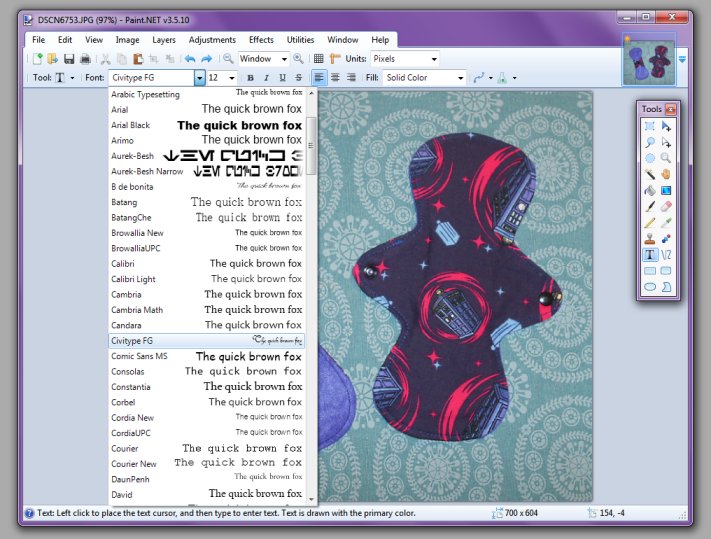
This will bring up an extra toolbar where you can select the type of font you want as well as the size and other options
Type in your business name
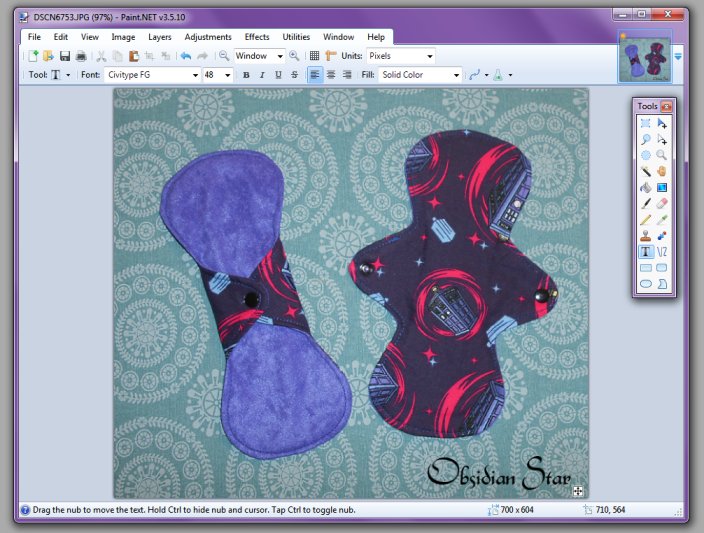
If you need to move the text around, click on the white cross icon and drag the text where you want it.
And you’re done!